I am going to show you two ways to make butterflies with coffee filters.
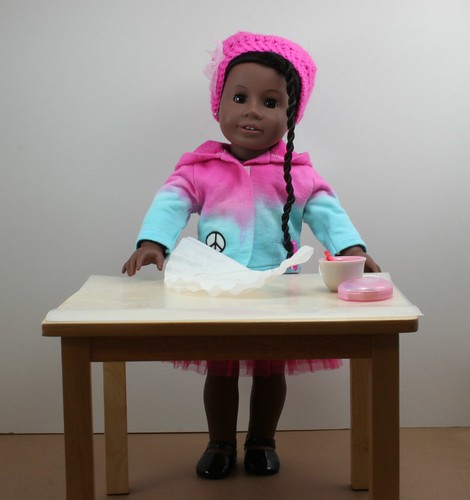
You will need a coffee filter, scissors, pipe cleaners watercolor paints or washable markers and a spray bottle.
Before you start make sure you protect your work surface with something that is water proof. I used wax paper but aluminum foil would also work.
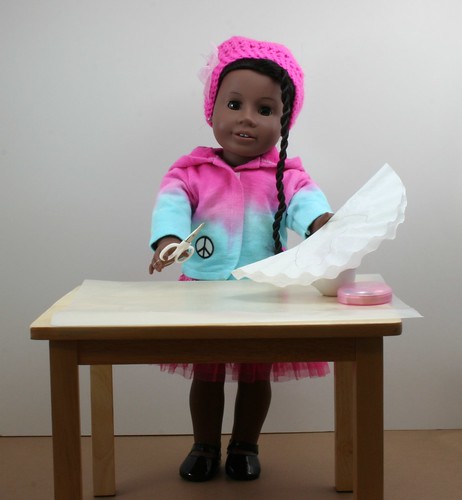
First fold the coffee filter in half and draw butterfly wings on a coffee filter, then cut the shape out.
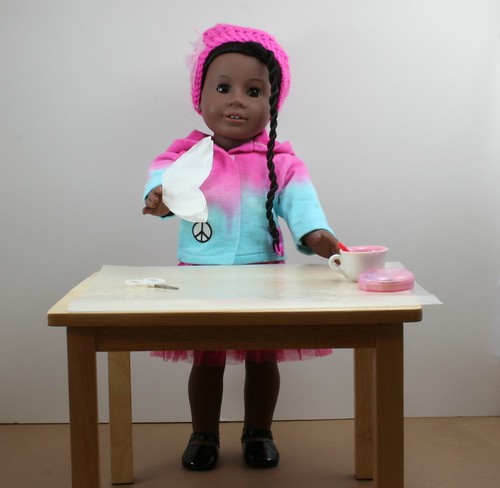
This is what the wings look like once they are cut out. If you need help with getting the shape right you can print a template.
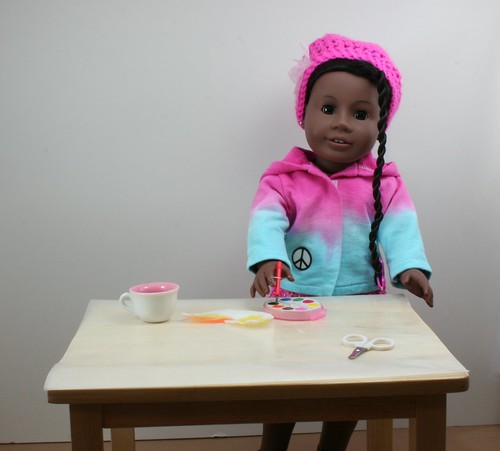
The first way to add color is to use watercolor paint. Keep the wings folded together while you paint the wings.
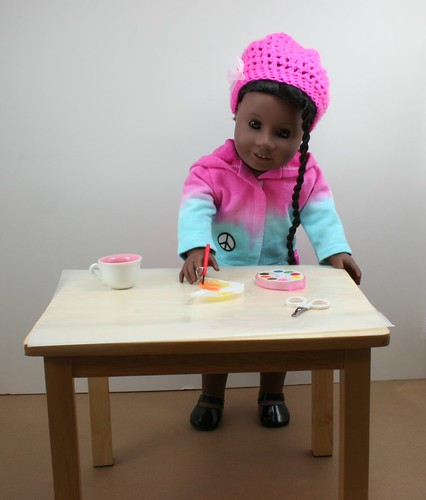
The paint should soak through both layers so the wings are symmetrical. One of the nice things about this project is that you do not have to worry about being perfect.
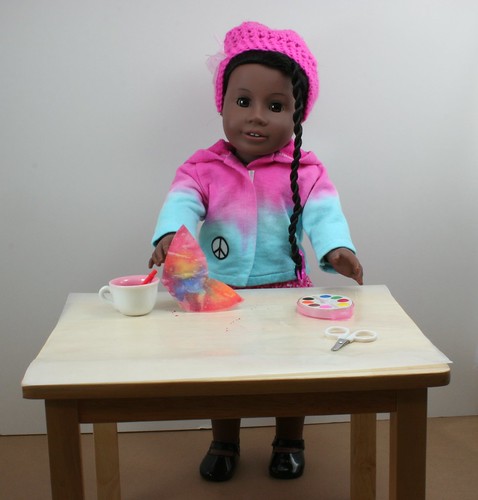
Here is what the wings look like when they are covered in paint. Leave the wings folded in half and set them somewhere safe to dry.
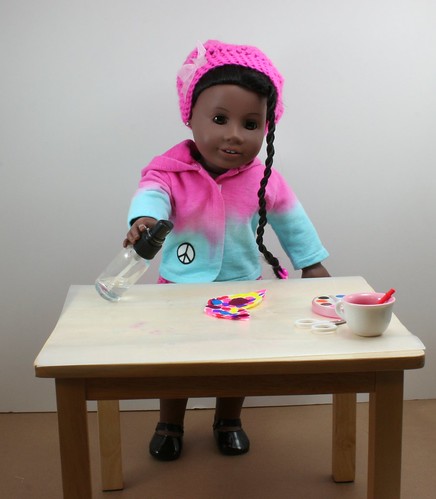
Another way to make butterfly wings with washable markers. The marker will bleed through the layers, but you will need to flip the wings back and forth to make sure that both sides look the same. Once the wings are covered in marker use a spray bottle set to mist to wet the wings.
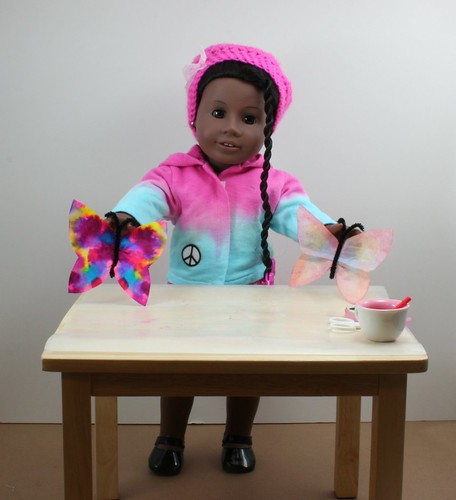
Once the wings are dry you can finish the butterflies using a pipe cleaner. Fold the pipe cleaner in half, sandwich the wings inside the pipe cleaner and twist the top. Use the ends of the pipe cleaner to make the butterfly’s antenna.
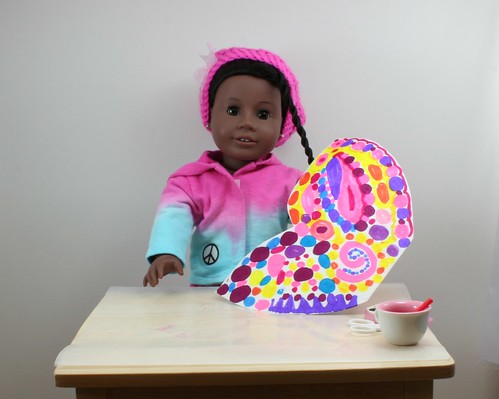
I went to the art supply store with my parents to find something like a coffee filter, only much bigger. We found a big sheet of rice paper. Can you guess what I am going to do with this?
