I love to do art and crafts of all sorts, after I read Happy New Year, Julie, I knew I wanted to make my own paper crane decorations just like Julie. Lydia would prefer to spend time outside, but she is my best friend so she agreed to join me. After making one we both had so much fun we wanted to show others how to make their own.

You will need origami paper, or paper that has been cut into perfect squares to make the crane. We chose this metallic paper in Christmas colors.
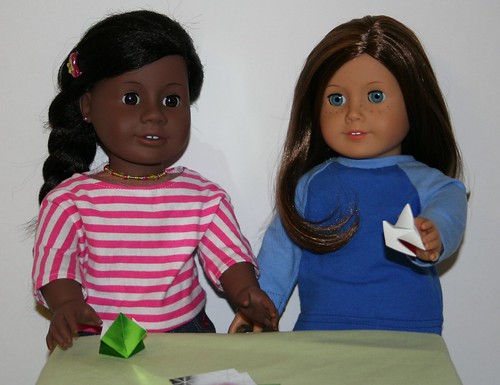
The first step is to fold your paper in half every direction and then to make a base that I call “double square.”

After the next folds Lydia thought it looked a bit like the Star Trek logo, so I held it up to her shirt. What do you think?

Here we are with the folding complete. You could put a piece of thread through the top of the crane or simply perch your crane on the branch of your tree if you wanted, but we decided to make ours fancy with beads and ribbon.
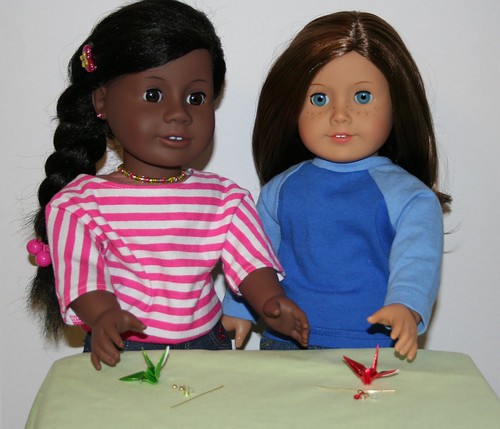
For this part you will need a completed paper crane, a head pin, an assortment of beads, ribbon, pliers and an adult to use them.
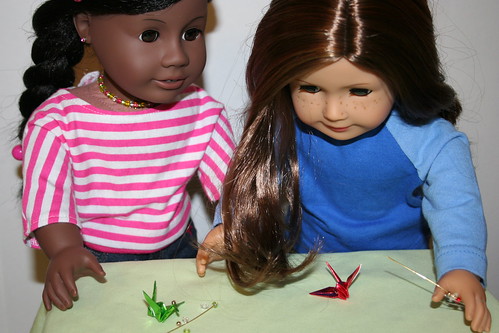
Start by placing any beads that you want to below your crane on the pin.
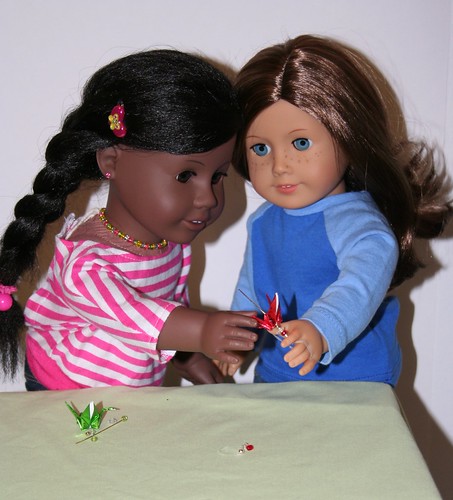
Next carefully place your crane on the pin, we used teamwork for this part. You can use a sewing needle to poke a hole through the top part of your crane first to make it easier. The bottom of the crane already has a hole in it. Then put the remaining beads on the pin and have an adult cut any extra length off the pin and bend the top into a loop.
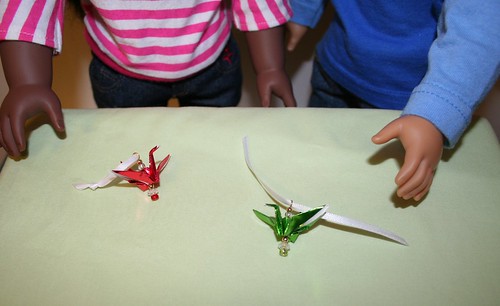
The last step is to thread ribbon through the loop and tie a knot creating a loop for your crane to hang from.

Here we are with our finished ornaments. Not wanting to be left out my cat Cricket jumped up on the table. Right after this photo was taken he started to paw at my crane, after I shooed him off the table explained to him that it wasn’t a real bird.
If you want to make your own paper crane ornaments you can find detailed folding instructions here: http://www.origami-fun.com/origami-crane.html
